Showing posts with label Battery rack. Show all posts

Sunday, July 10, 2011

Front Battery Box Assembly

The last thing I tackled this week is the construction of all of the components of the front battery box.  The box holds batteries, but is also the platform for the auxiliary battery, the DC/DC converter and the relay board.  As with the contactor parts, I put the relays and the connector strips into another weatherproof enclosure.

Here's where things went horribly wrong.  The aux battery and DC/DC board mounts to the battery box via threaded studs and 1/2" long 1/4" bolts.  Unfortunately the holes were all the wrong size and the studs were not installed at the factory, as the instructions assume.  It took me a while to figure out the right stud to use, drill out the holes, install the studs, then moved forward.


Since I'm bolting a weatherproof enclosure into this area, I had to drill holes slightly below stock.  I also had to clean up the plastic welding bead on the inside joint.  I melted it with my soldering gun, then scraped away the excess while it was still warm.


Another big problem with the directions is it assumes a certain DC/DC model with bolt terminals on the top, not with a cable coming out the top like mine.  Reading ahead I see I'll have to double-lug some of the spade lugs to work around this problem, but I'm getting very flexible and creative now.


And finally here is the relay board in its enclosure, ready to have wires run into it.  I'll dummy everything up and figure out how best to run the wires into the box using probably three gland nuts.


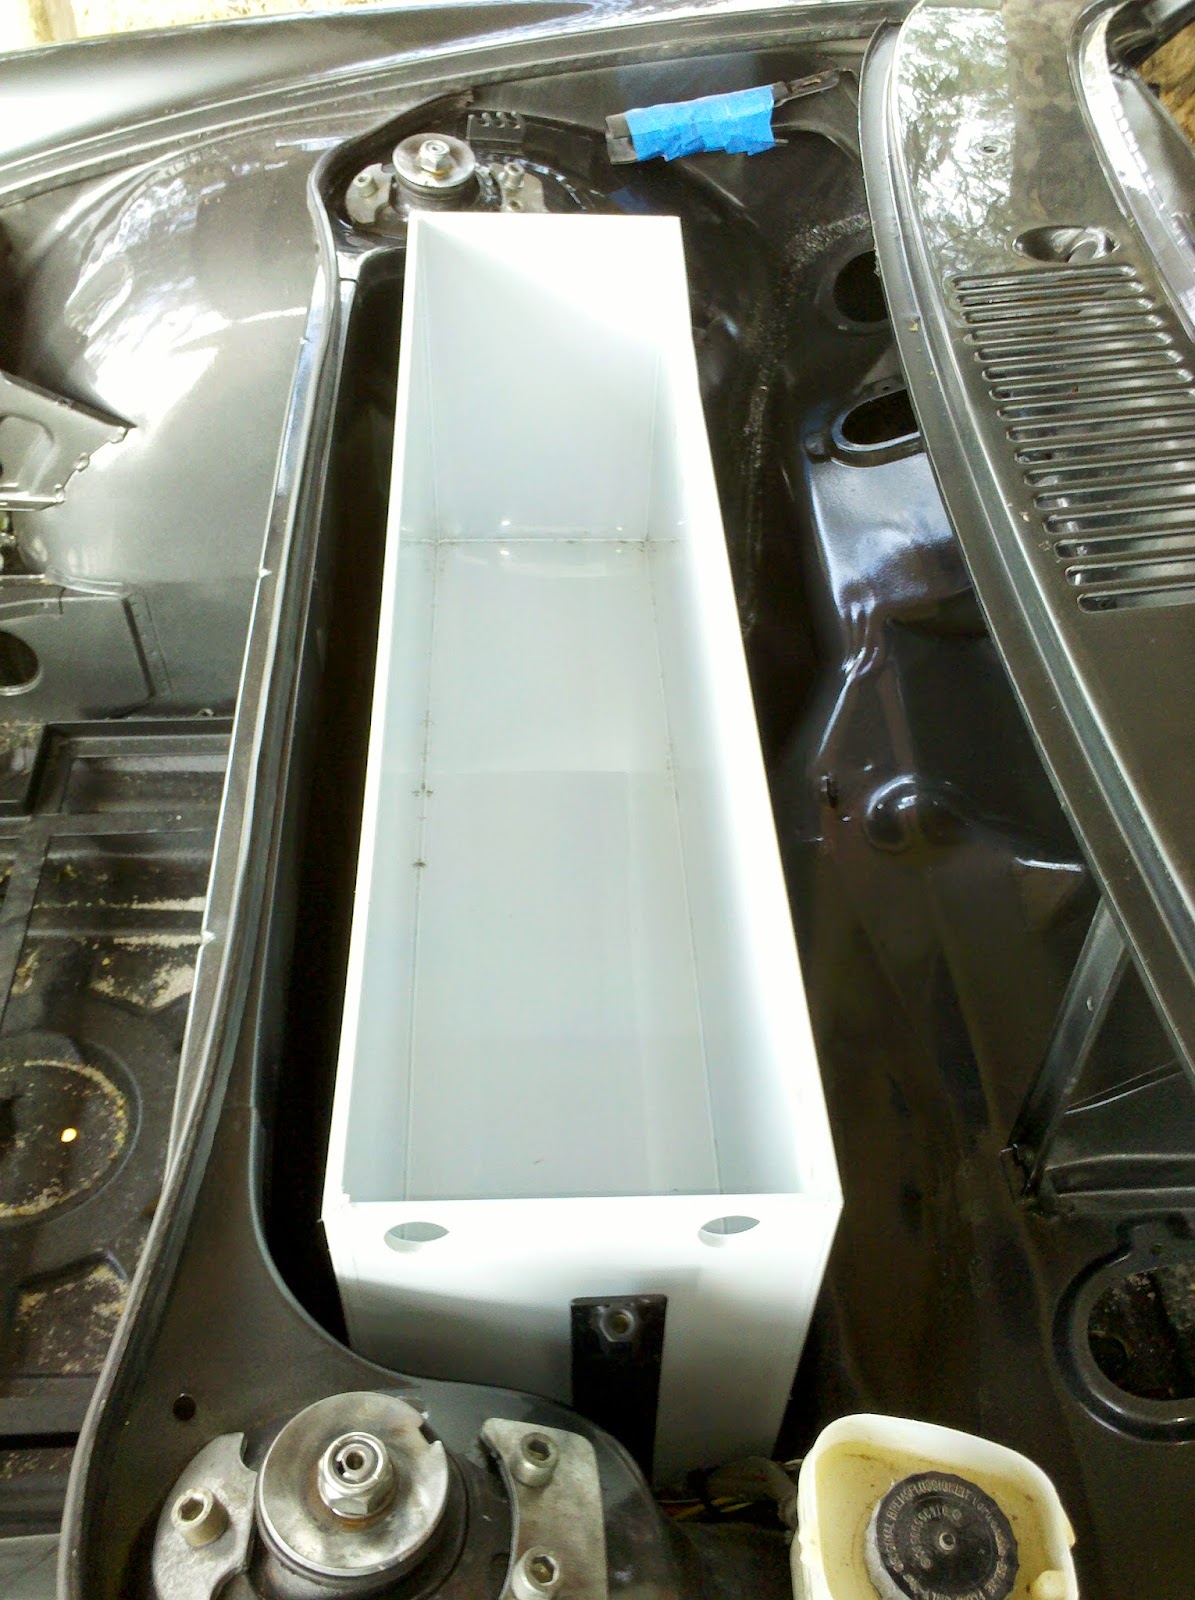
This is the aux battery mounting area.  I'll have to pick up a battery tomorrow to be able to continue cutting and mounting the rest of the cables.  For the record, it's a U-1 style 12V battery, maximum size 7 3/4" L x 5 3/16" W x 7 5/16" H, with 1/4" bolt-on terminals.


Well that was the end of a long, hot week.  I think I need a break from the project for a while!

Rear Battery Rack

I blasted through a lot of work this week, so I'm going to make a small post for each area.  This one is on the finishing the rear (engine compartment) battery rack.

Alert readers will remember my pain of trying to fit the rack into the space.  I had to cut out the engine cover latch and a couple of trays.  The hell-hole didn't start out too bad, but it wasn't completely dealt with by the body shop and rust kept percolating through the paint.  I tried rust-converter and it helped but not completely.  I then went to the POR-15 and painted the whole engine compartment.  It both halted the rust and added to the black motif.  It also covered the scratched paint from all of the times I tried to put the rack in and pull it out again.

Here's the rack support sticking up, waiting for the rack.


You can see the rack is bumping against the semi-vertical brace on the side of the engine compartment.  I've seen others grind the rack away just enough, but I just finished pounding out the firewall, so several carefully placed hits and a grinder to smooth it, the rack had enough clearance.


On the passenger side, there is a triangular plate, which I cut away, leaving enough clearance.


And viola!  The rack is home for the first time in a test fit.  I was surprised by how tight it fit - there's only a few millimeters from the back of the rack to the front of the transmission adapter, and again only a few millimeters between the top of the motor and the bottom of the rack.


Here's where the triangular plate was, after I removed it and ground everything smooth.


And this is the driver's side where I pounded it, then ground everything smooth.


These shots are after the POR-15 treatment.


And now the rack is back in place and ready to bolt to the vertical supports and the metal sheet behind the seats.


And here is how tight the clearance is between the rack and the motor adapter plate.  Just a tiny bit of daylight.


Of course I tried to fit in the battery boxes, but they need a little bit of trimming on the plastic edges.  I'll save that until later.

Saturday, July 2, 2011

Firewall Reshaping Completion and Battery Box

Well I've been plodding along on the car for the last month or so.  The big issue was completing the reshaping of the firewall to allow for the battery rack.  I pounded the crap out of the metal, then used body filler to get things nice and smooth and contoured.


Then I masked it off in preparation for painting.  Tom at Rainbow arranged for the correct high-build primer and original paint components (urethane paint, reducer and catalyst) and the same color formula.


I sprayed the primer from an aerosol can as directed, then mixed the paint components in the right proportion and sprayed it too, exactly according to the directions.  I used my painting coveralls, respirator and full eye cover..  It was tough getting my spray gun down into the valley at the bottom of the firewall, but it worked out well.  I was very careful about overspray.


Then I sprayed on the clear coat from an aerosol can.


Here she is!  You can see a small seam of paint color mismatch but it will be down behind the battery box and under the vent system.  I just wanted it to be good enough to be a decent match and I'm happy with the way it came out.


I then bolted in the battery rack uprights and cross-rails.  Getting a wrench under there to tighen the nuts was an adventure.  I kept thinking of the line from The Restaurant At The End of The Universe: "If you've done six impossible things this morning, why not round it off with breakfast at Milliways, the Restaurant at the End of the Universe."  RIP Douglas...


I can't finalize the installation of the battery box yet, because I have to complete the restoration of everything that goes under the cowling: windshield wiper assembly, windshield washer pump and tubing, and the airbox and vent hoses.

Sunday, May 8, 2011

Firewall Reshaping

The middle battery compartment fits in where the gas tank used to go, between a vertical wall on the front trunk side, and the firewall on the passenger compartment side.  Unfortunately to fit the battery box in place, you have to "reshape" the firewall.  In fact, it's bashing as hard as you can.  I hated to do this to my new paint job, but I didn't know how to shape it when the car was in the body shop because I didn't have any parts yet.  Did I mention that EA has been tardy delivering my parts?  :^)

So here I am, bashing the firewall into shape.  There is a support bar underneath the steering column that makes for very, very hard bashing, so I crawled into the passenger compartment and cut a section of it out with my angle grinder.

Here is the progression of the bashing and the start of the bondo to leave a nice shape.


I've got the car entered into the Warbirds, Wings and Wheels show this coming Saturday at the Estrella Warbirds Museum at the Paso Robles airport.  I need to get this smoothed out, primed and painted to be ready.  I'll take it over on the trailer and get it in place in time for the start of the show.

Saturday, January 29, 2011

Front and Saddlebag Battery Racks

Having attacked the engine battery rack, I moved to the front.  Simple, right?  Just drop it in, drill a few holes and stick in some bolts.  Well, close but no EA cigar!

I positioned the rack in the compartment and found that no matter what I did, there is a 1" gap between the front mounting tabs and the bottom of the car.


A helpful person on the 914EV forum said he also had a gap that he filled with a long bolt and a stack of washers.  I will do the same with some washers and a short tube.

Now we move on to the excitement of the saddlebag battery racks.  Surprisingly, it went very smoothly.  I used the templates to mark the outline and drill the mounting holes.


I then cut the shape out with a jigsaw with a metal blade.  I taped the opening to avoid marring the surrounding paint.  It took several test fittings and trimmings to get the rack to fit, then I filed the opening smooth.


Due to the ribs, EA supplies shims to give a level surface for the rack to mount to.


Luckily for me, Lowes carries the special metallized silicone specified in the EA manual.  It said to use a lot of sealant around the hole and the bottom of the rack to make a complete seal.  Well I went way over the edge on the first mount and had a lot of nasty cleanup.  I used significantly less on the second rack and it went in nicely.  I used a lot of paper towels to clean up the excess, on the top and bottom of the hole, and mineral spirits to get it perfect.  I was surprised to find that the bottom of the rack is only about 3/8" above the CV joint bracket where it bolts to the transmission.  You can see the CV boots below.  Neither of these should move while driving so theoretically it should be fine, but I may end up putting in some spacers to lower the transmission a smidge.


I also added the hydrogen gas vent to the rear trunk compartment.  The battery boxes will have tubing and fans installed to get rid of the gas generated by the batteries as they do their battery thing.

Saturday, January 22, 2011

Day of Destruction - Engine Battery Rack Prep

Before I get to the destruction, I wanted to show the result of prepping and finishing the metal around the interior of the passenger compartment.  If you go back a bit in time, you'll see that the car was caught in the rain with bare metal exposed in the passenger compartment.  I would have thought Rainbow would have blasted, primed and painted the compartment, but it didn't happen.  I had to scrape off most of the existing rubberized coating to expose the rusty parts.  I then treated it with my magic rusty solution.  I then used about 6 cans of 3M rubberized undercoating spray.  Trust me, a can doesn't go very far.  It's basically thinned tar.  I masked off the area, then sprayed multiple coats and I think the final result looks great.  I've dealt with the rust, and added a temperature stabilization and noise reduction layer.


Now, on to the destruction.  During the tear down, I read the EA directions and it said remove the engine cover release bracket so the engine bay battery rack will fit.  So I unbolted the catch mechanism from the mount welded to the rear of the rear engine firewall.  The car was then painted and now I come to realize, with some advice from the helpful folks on the 914EV forum, that I was meant to remove the mount too, and the hard tube that shepherds the release cable from the passenger compartment!  This was going to be ugly, given the delicate nature of removing a welded metal bracket from a newly painted area.  You can see the tube curving in from the right and attaching to the mount.


The tube is very stiff and tack welded to the frame as it comes out of the passenger compartment, so I decided to cut it off, and I'll pop a small rubber cap on later.


Here's a closeup of the mount we need to remove.  I taped off the areas I was likely to bang into for a little protection.  I had to climb inside the engine compartment to get the proper access.


With the use of a sawzall, jigsaw with a metal blade and angle grinder, the mount is now gone.  I painted it with rust fluid and will prime and paint to match the body later.  It came off better than I thought it would.


I tried a test fitting of the battery rack and immediately found the original 12V battery tray needs to be removed too.  I just missed that in the instructions.


I did manage to remove it, with the help of the tools listed above.  I didn't take an after-picture, so I'll put that up later.  The good thing is when I got the tray out, I found a strip of rust under the horizontal tab of metal you can see welded to the vertical panel.  This would have been a rust farm in the future.  They weren't able to reach it with the blaster and the primer and paint couldn't get up underneath well enough.  I slathered it with rust solution and it's in good shape now.