Then I started into the rebuild. I wasn't sure of the best order to put the components back together, but a quick Google search on 914 window fuzzys led me to this page on Chuckles McGroover's web site. It gives a high-level view of the process, but I crave detail, so I'll give you as much as I can here.
I started by positioning the door frame on a suitably-high cardboard box and ran one of the top bolts into the hinge hole by hand.

I then ran in the other bolts snug and checked the shotlines between the door and the frame. I gently adjusted until everything lined up right and then tightened them all down.

The door had at least 6 holes and a couple of drywall plastic plugs in the mirror mount area due to the use of aftermarket mirrors over time. Rainbow welded the holes over and made the area nice and smooth for paint. Unfortunately they didn't drill the factory holes out for me. I had to locate the nuts from the inside and drill a small hole from the inside out. I then used larger and larger drill bits to expand the hole to the needed size for the mirror's large screws. By the time it got big enough, I had messed up the original threads, so I tapped the holes out to 1/4 x 20 and got two nice stainless steel panhead screws that look just like the factory. I'll mount the mirror near the end of the process.

I grabbed the thick rubber gasket and inserted it back into the channel around the sides and bottom of the door.

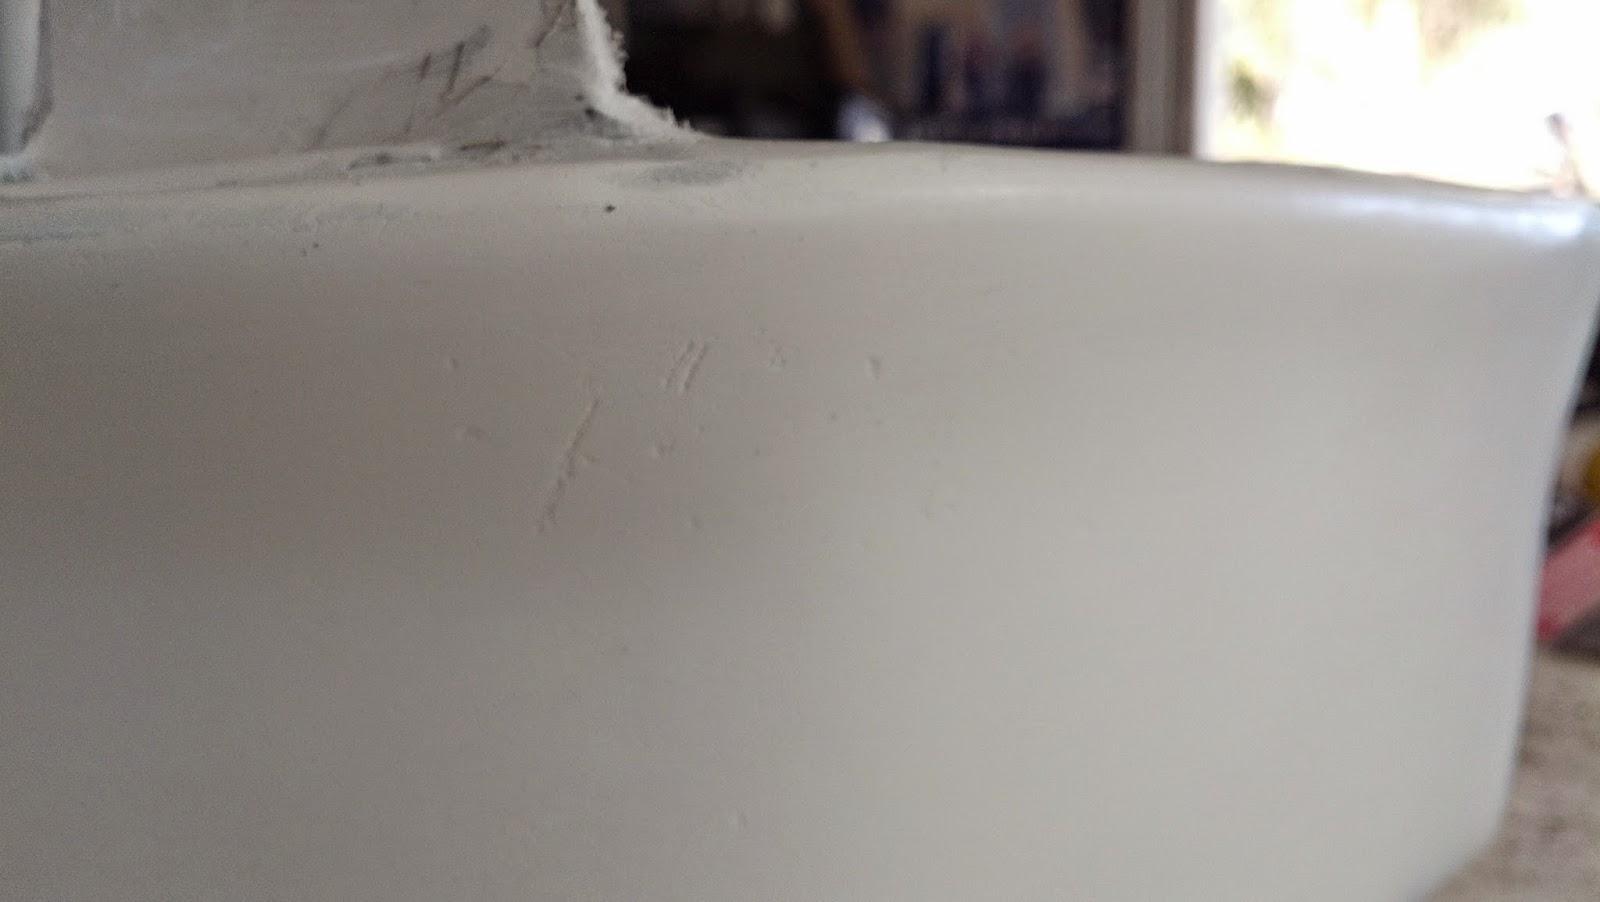
I spent a lot of time cleaning the fuzzy channel but it wasn't all necessary because most of it is located inside the door or hidden by weatherstripping. It does look nice and shiny though. Here is one side of the channel, with the new fuzzy installed.

After 38 years, the rubber and fuzzy strips were pretty shot, so I bought most of the available door replacement parts at 914rubber.com, including the rubber and channel materials you see below.

Speaking of cleaning, here is the still-dirty passenger door latch mechanism next to the shiny clean one for the driver's side.

I also cleaned the window scissor mechanism with soap, a scouring pad and engine degreaser. This will go a long way to having a smoothly-operating window. After I took this picture, I sprayed the mechanism with cold galvy zinc paint, which will inhibit future rust.

Now we start putting parts into the door. We start with the window mechanism. I maneuvered it inside the door frame, then slid the nylon wheel mounted to the same arm as the rectangular mount into the slot you see bolted to the door frame below. Of course first I removed and cleaned the slot... I sprayed a good dose of lithium lubricant into the slot to help the nylon wheel slide easily.

I then moved the window crank into its hole and mounted the four bolts to hold the window mechanism into place. You can now test the action by temporarily mounting the window handle and running it all the way up and down.

Next I mounted the door stop mechanism. This is not working well, as it doesn't actually stop the door from moving in the wind as I found during this work. I decided to work out the problem later but it looks like the spring mechanism doesn't actually hold much pressure against the bar.

Next I installed the lock mechanism. To fit it into place, you have to rotate the latch until it clicks, as pictured below.

I then inserted it through the hole in the door from the inside. It's held in place by a large screw through the door frame and one inside.

I then slid the door handle through the hole in the side of the door and gently into the latch mechanism. It's held in place with a hex nut on a stud in the handle. Don't forget to put the U-shaped rubber gasket (that I got from 914rubber.com) between the handle and the door to avoid scratching the paint.

A hex-key bolt is installed on the inside.

Next it's time to mount the latch bar between the latch mechanism and the inside door handle. First slide the two rubber holders onto the bar. Then slip the holder clips onto each end as pictured below.

Pop the end with the double-bend in it, into the hole in the pivot in the latch mechanism, then snap the clip holder over the end of the bar.

Then do the same with the other end into the inside door handle.

Next we'll place the rear window guide into the door frame and lay it against the rear. We can't actually mount it yet because we need to move it around a bit. The fuzzy and the rubber cap are both from 914rubber.com. Hold onto the cap and screws until later.

Getting it installed is the result of a series of tricky maneuvers. First, place the end cap into place at the very rear of the window slot. Next take the channel and, while well lubricated with soapy water, slide it onto the rib of the cap by coming at the cap from an angle from within the door frame. When the channel is tight up against the cap, lift the channel up and push it into a friction fit onto the downward tab on the outside of the door frame. Got all that? This is what you should end up with.

Now we put the two bolts into the bottom bracket of the rear channel, but only loosely as we'll need to adjust later. This is the view from the top of the bracket inside the door.

Next I thoroughly cleaned the door glass and brackets. I gently inserted the glass into the door frame and lined up the other nylon wheel into the window channel ...

and the rectangular tab into its bracket. Run in the bolt, but do not tighten yet.

Now we fit the front channel. It uses a funky bolt with a flange, which acts as an in/out adjuster for the angle of the glass. Carefully lower the channel into place, access the nut through one of the holes in the door frame and run in the flanged bolt.

Move the bottom of the channel until the flanged bolt fits through the small hole in the door frame. Put on the washer and nut but don't tighten.

Gently push the big rubber gasket into place in the top of the door frame. Then wiggle the front quarter glass into place.

You'll know it's in place when you can put the cap on top of the front channel and the holes line up for the two small screws.

At this point we can finalize the fit of the glass. Run the window up and down a few times and wiggle it until it moves smoothly through full travel. Tighten the glass bracket bolt, the rear channel bracket bolts. Adjust the in/out bolt, then tighten down the outer nut to lock the flange against the door frame.
I then installed the outer window squeegee strip using soapy water and a lot of patience. You have to insert the rib of the squeegee into the small gap near the end of the outer channel about half an inch at a time, then slide everything forward. When inserted all the way, I trimmed the rear to properly overlap the rear cap.

I then installed the door card (panel), snapping in the plastic fittings.

I installed the window handle...

and the inside door handle trim.
Finally I installed the door handle / map pocket using two hex key bolts and three small screws along the bottom. Now it really looks like a door!


Moving back outside, I mounted the side view mirror using the new screws. Note the original 914 only had a driver's side mirror, not one on the passenger side. Also, this mirror appears to be non-adjustable...

I then screwed in the latch striker into the frame of the car. Amazingly, the door closed nicely the first time, and it looks great! Don't slam it too hard, as the rear vertical window frame rubber gasket isn't installed yet.

Now that I know the process, the passenger door should go more smoothly. I still have to spend a lot of time cleaning though!