Up to now, the car was still driveable. Time to commit to the destruction! First thing to do is get the car up on the jack stands. I used my hydraulic jack to lift up the front driver's corner. I want to put the jack under what seems to be a reinforced metal ring just behind the wheel well. I used a couple of pieces of wood to spread the weight load and got the jack in place, at its lowest height. The car is so small that lifting it this high brought the other side of the car right off the ground too. I went back to the rear driver's corner and lifted it at the metal ring, with the goal of putting the jack stand under the thick pivot arm of the rear suspension. The jack stand has a U-shaped top, so the pivot arm fit perfectly. I then went around and did both corners of the passenger side. It looked like it wasn't high enough, so I made another pass around the car, jacking it up several more inches. And here we have it! I can now comfortably roll underneath with my creeper, and there is sufficient room to drop the engine.

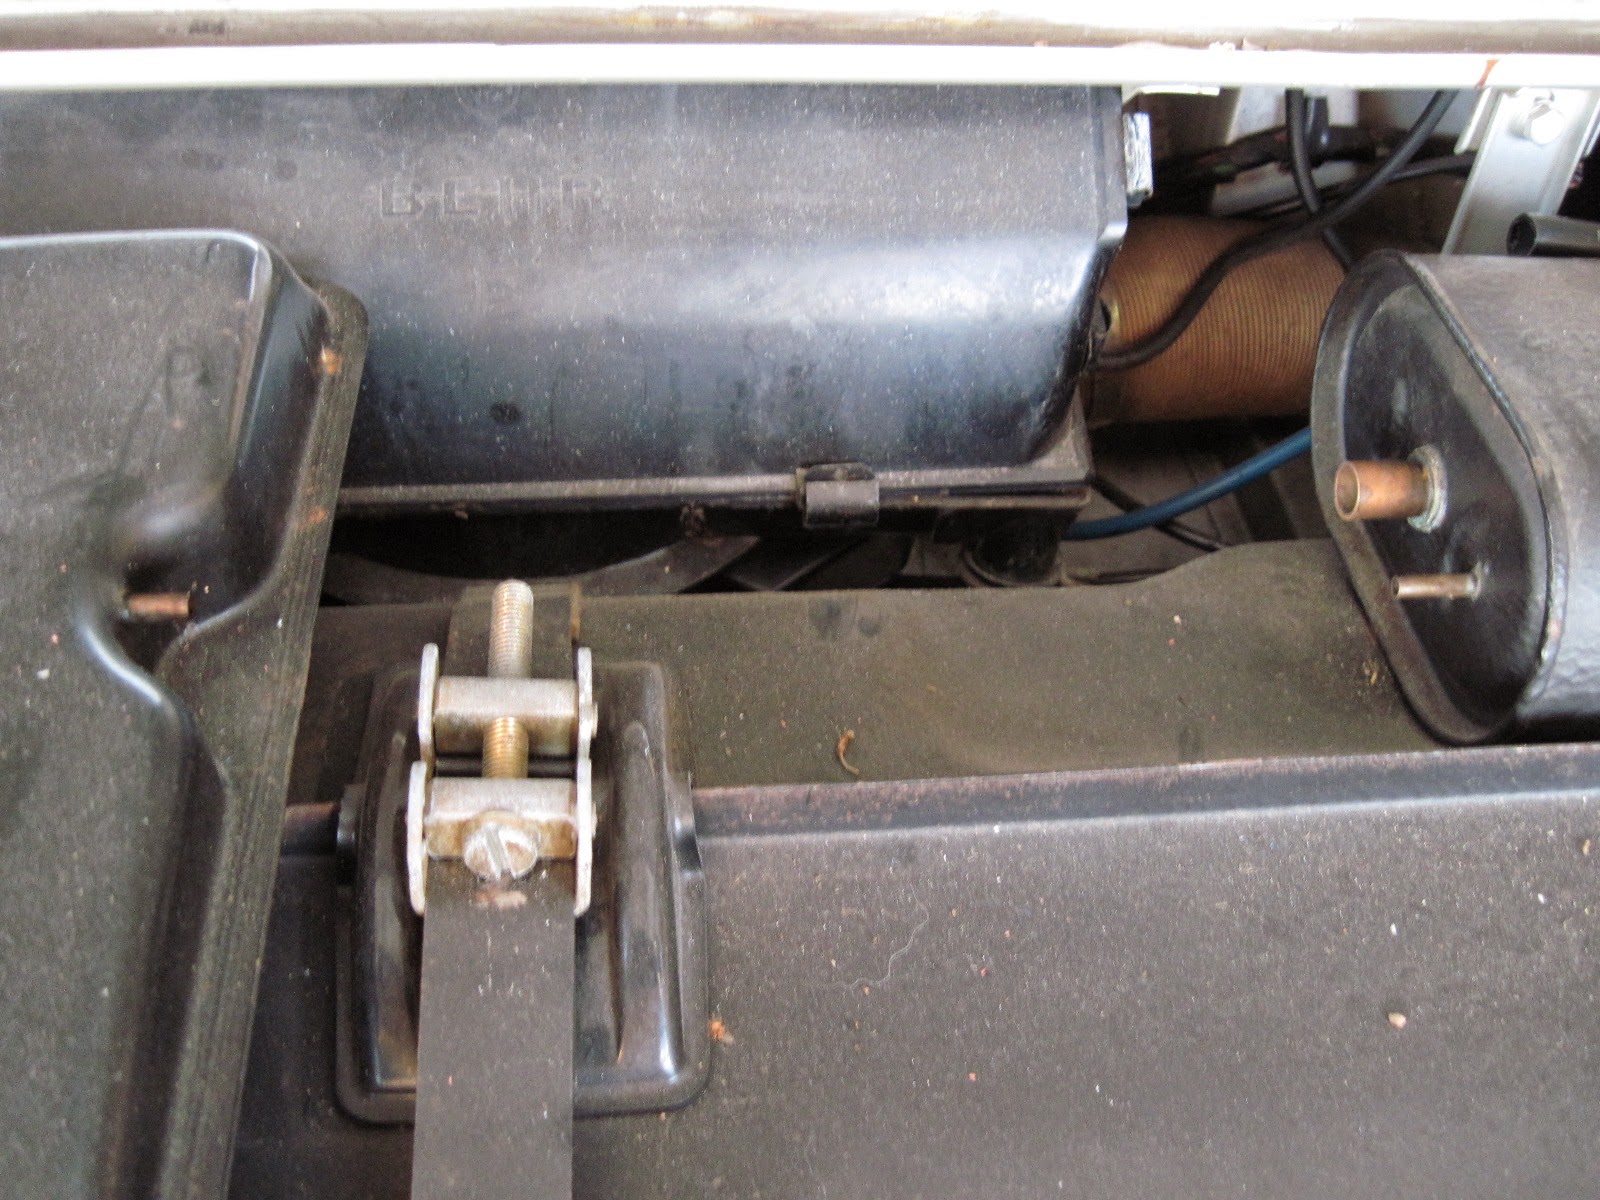
Next came the removal of the front (bonnet) and rear (boot) hoods. This gives complete access to everything that happens from this point on. The hoods are only held on with 4 bolts onto the spring-loaded arms. I think I can leave the front arms in place but the rear arms had to come out. They're only held on with one bolt, but there is a lot of spring pressure, so be careful when they're about to come loose!
Now onto the main event, the removal of the gas tank. It's pretty straightforward. First I had to drain the 5 gallons or so of remaining fuel. I bought a cheap siphon with a primer pump and it took about an hour. If you can, get something that will do the job faster. Also, the hosing wanted to keep its rolled-up form, so I electrical-taped it to a straight stick I found and stuck it straight down the filler hole. Luckily this got nearly every drop out.
Then it's a matter of removing the spill ring and expansion tank bolted to the top of the main tank.
Then the strap across the tank and the fuel level sender cable connector are removed. At this point, the tank is only in place via two hoses at the bottom. Ignore what the Haynes manual says, and don't bother removing the stone shield under the tank. It's not necessary, and one of my bolts was seized anyway. You can lift the tank up from the passenger side and slide the two hoses off their pipes. If the won't slide easily, cut them off.
And we're done! This is the hole where the gas tank was, and where the electron tank (batteries) will go. If you look closely, you'll see a shiny metal bar going across the front of the area. That's tied to the front suspension on both sides so I suspect it's an aftermarket torsion rod. No wonder the handling felt very tight and stiff! I just hope it doesn't interfere with the placement of the battery holders.


No comments:
Post a Comment