Monday, February 27, 2012

Windshield Installation

In a breath of fresh air, the windshield installation went very smoothly!  I contacted Apex Auto Glass in town and arranged for them to install the windshield at my house.  They recommended that I buy the Porsche trim or a suitable rubber gasket to do the installation, as butyl is illegal for front windshield installs now.  I bought the gasket from 914 Rubber, plus 19 of the factory window clips and two rubber spacers from Pelican Parts.  The installers said that the clips and spacers were only needed if we were using the original chrome clips and trim, so back to Pelican Parts they go!

The installer started out by testing the gasket on the windshield.


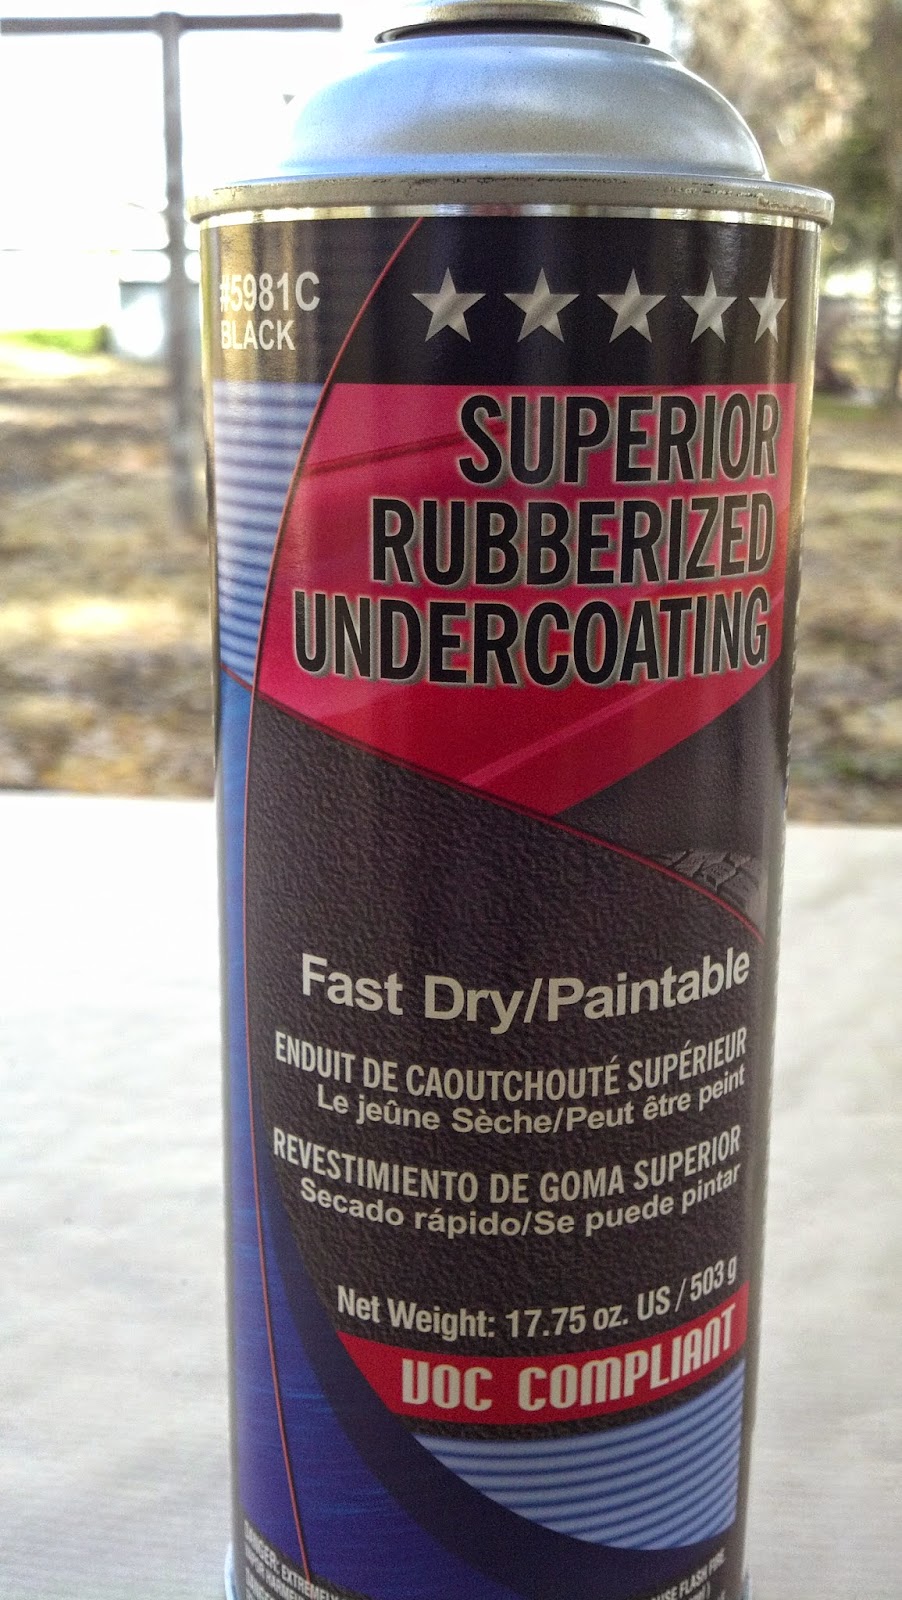
He then painted the edge with a black primer to help with adhesion of the urethane glue and give a nice consistent edge to the viewing area of the glass.


He scuffed the paint around the edge of the window frame and painted it with the black primer.


He filled each of the 19 clip holes with urethane to seal them from water getting in and out.


He pressed the dashboard/windshield gasket into place that I picked up from 914 Rubber.


He applied the gasket to the windshield.


He then ran a bead of urethane adhesive around the edge of the glass.


He ran a matching bead of urethane adhesive around the inside of the window frame.


The shape of the notch in the gun gives the adhesive a tall triangular shape.


The installer and the office manager Scott then placed the glass into place and pressed it down.


It looks great and fits the black motif perfectly.


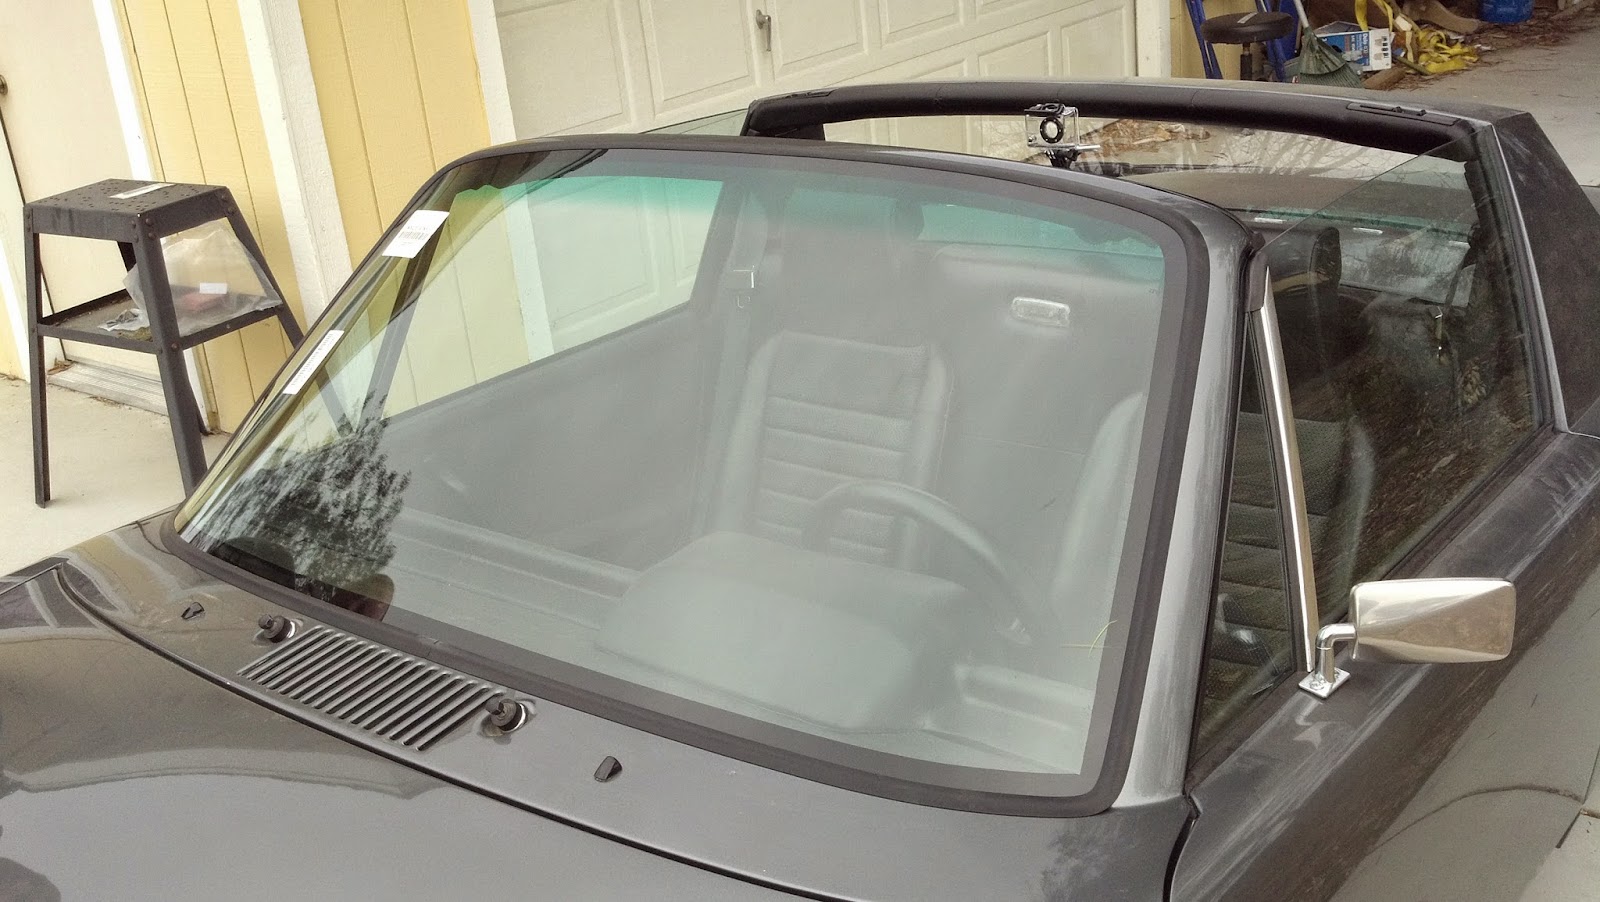
Painters tape helps the gasket seal down tightly as the adhesive cures.


They offered to take the old windshield off to the glass graveyard.  Note the terrible butyl install job done by a previous owner.  The crack is my fault during teardown, but it lived a hard life and needed to be replaced.


It's a little cliche' but later in the day, we got a rare rain shower and a huge rainbow popped up over the car and the solar array that makes the electricity that the car gets charged from.

Dashboard Top Install

The dashboard top had similar cracking problems to the targa bar.  I had a plan to adhere a new layer of vinyl to it, but the compound curves were way too tight and it just wasn't practical.  In fact the factory uses a vacuum press and I don't have access to one.  I actually bought a plastic dashboard cap but didn't like the look of it - too plasticky.  It's still in its box if anybody wants to buy it from me.

Given my success with filling the cracks of the targa bar and spraying with rubberized undercoating, I decided to try the same technique on the dashboard top.  I spent much time filling the cracks, sanding, filling and sanding.  When I was reasonably happy, I began the spray coating process.  After that was complete, I prepped the dashboard area.

First I had to apply a small piece of new vinyl between the front edge of the dashboard cap (shown in the traced green line below) and the windshield / defroster vents.


I was going to be painting on contact cement so I wanted to make sure that there would be no drips on the nice bits of the car.  I cut a piece of construction paper to the shape of the dash area to keep the two sides of the contact cement separated and reach tackiness until I want them to come together.


 I got the vinyl cemented down safely, and the leading edge is tucked down into gap between the dashboard and windshield and defroster vents.


Then I laid the dashboard cap into place, fitting the 9 bolts through the holes in the frame.  This is where my self-made nightmare began.


Those 9 bolts, at this point of the restoration, are virtually impossible to get to.  I mean nearly impossible with human size hands and normal tools.  I mean 2 days of effort, taking apart much of the rest of the dashboard and instrument cluster.  The moral of the story is to restore the dashboard and mount it back in place before you put one single thing back into the dashboard rebuild.  I just left the restoration too long, going through several aborted plans.

Here's one of the two bolts that hold down the front edge of the instrument hump.  To even *find* this bolt, I had to pull out the left-side instrument gauge and remove all of the wires.  You can barely see the bolt in the lighted gap, and the nut resting in a little channel just below it.  The channel makes it impossible to get the nut started on the bolt, and then to tighten it up.


It's ugly, but I had to pry the lip of the upper and lower channel away so I could mount this nut.  Compare to the picture above.  At least it's tight and the cap is held in place.


The DIN radio mount completely blocks two of the bolts.  The other nuts are just bad, and I'll let you discover each little neighborhood in hell by yourself.  I just hope you have small hands and lots of patience.

Tachometer Works!

After finding that the tach wasn't displaying anything after installing the tach sensor unit from RechargeCar, I did some additional research.

The sensor is putting out a 12V signal, but the tach is expecting 100V+ signal from the coils of the gasoline ignition system.  Folks on 914 forums suggested either designing a booster circuit with parts from Radio Shack, or just buying a tach adapter unit by MSD.


This is how it looks out of the package.  The wiring is very simple, with 12V power, ground, tach sensor in and tach output out. 


 I wired it up and it worked first time.

Engine Cover

I've been waiting for the body shop to replace the rear trunk hinges that they lost, but they're not the fastest guys ever, so I decided to mount the engine cover back into place.  I hope it's an easy job to mount the hinges with the engine cover in place otherwise I'll have to unbolt it.  The installation went pretty well, but there isn't a lot of spare space to maneuver in.

First I mounted a bolt from underneath, through the hinge and into the nut welded into the bracket on the left and right side.  Note that you have to remove the battery cover to get enough room to get a socket wrench underneath to tighten up the bolt.  I wrapped my wrench with several layers of electrical tape so I wouldn't get zapped by touching a battery terminal.  To avoid rattles and scratching due to paint-on-paint, I put a small piece of 1/8" rubber between the brackets.

Stealing a great idea from Richard Rodriguez, I used neodymium magnets from K&J Magnetics to hold the cover in place, since the spring bar and latch assembly is long gone.  These magnets are very strong, to the point where they can hurt your finger if it gets between two magnets snapping together.  I used a pan-head bolt through the hole in the magnet, small spacer, large washer, rubber washer, through the mounting bracket, then finishing with a nylock nut underneath.  In a bit of a happy accident, I over tightened  one of the magnets and broke it in half.  I used half a magnet on each side as it fits perfectly into the shape of the corner of the underside of the engine cover.  I epoxied a small piece of 1/8" rubber to the underside of the cover to avoid scratches and rattling.  There's also a loose captive nut that I epoxied into place.


The cover fits flush with the side trim and looks great.  It takes a tug on the handle to raise the cover, just like I was hoping for, and it snaps down perfectly onto the magnets.

Targa Installation

After I finished the targa top, I mounted the storage clips in the rear trunk.  I was worried about the fit due to the battery box moving the firewall back a centimeter or so, but it does fit!


Then I placed it into the roof area and locked it down.


Looks great!

Targa Front Seal, Rear Trim Bar and Rear Seal

It was time to install the front targa gasket across the top of the windshield frame.  The one that came with the car was in great shape, so I just cleaned it and slotted it into place.  It went in nicely.


Below is the place where the rear trim bar mounts.  I cleaned, pained and bolted the targa clamps back into their home.


I then went to install the rear targa trim bar.  Alert readers will remember that I had covered it in new vinyl a long time back, as it had several unsightly cracks.  I tried my best, but even the 1/8" of extra thickness prevented it from fitting into place.  So I carefully peeled off my vinyl and scrubbed off the contact cement residue with mineral spirits.


So the plan became trying to repair the cracks as best as possible.  I ended up filling the cracks with vinyl adhesive, waiting a couple of days, gently sanding, then applying more adhesive.  In retrospect I should have used epoxy because the vinyl adhesive takes a long time to dry and shrinks up, necessitating multiple treatments.


This is the result, with a bit of scuffing of the original vinyl due to the sanding.


I wanted to get a consistent pebbly texture and after a lot of research, I ended up with this rubberized undercoating.


The trick to using this stuff is to spray in a very fast motion or it will get too thick and goopy.  By fast I mean spraying across the whole trim in about 1/10th of a second.  Apply multiple coats until you get the look you want.  I hung the trim by a string from the bottom of my opened garage door so I had 360 degree access.  Just beware that the overspray will get everywhere!


It's by no means perfect, but better than it started and with a nice texture.


Finally, I mounted the U-shaped rear seal into the targa top.  It's not in the greatest shape, but I didn't feel like buying more replacement seals...  There are two breaks in the rubber gasket, so I shaped and stuck strips of butyl into the holes.  Someday I'll just get a completely new gasket as the fuzzy strip is disintegrating.


Window Seal Trim

My efforts to de-chrome the car ran into a glitch when I realized that the rubber window seals slide into chrome trim strips that are mounted around the door.  First I pulled the pieces out of the "sell" bin.


Then I cleaned them up and straightened the dents.  I scuffed the chrome surface, then primed and painted them black and topcoated clear, but taped off the "slot" area so the paint wouldn't get inside and prevent the seals from sliding in easily.


Then I mounted each piece into its place, with two thin strips of butyl behind acting as a water seal.


I then cleaned and slid the seal into place.  This is a replacement seal from 914Rubber.  I left the rubber long until I install the targa top and perform all adjustments, then trim correctly.  The blacked-out trim now disappears between the body and the rubber seal.


Here's how the door looks closed.  I need to do some fine adjustment on the bolts holding the window mechanism in order to get the glass nice and tight into the seals.


Here's the trim and rubber in place on the windshield A pillar.

Front Hood Gas Strut Installation

With the front hood mounted and working nicely, it was time to install the gas struts, or Trunk Shox, that I bought from Camp 914.

They took all of about 15 minutes to install.  First you remove a bolt from the rear of the hinge bracket on one side, and mount the bracket with the pivot on it.


Then you mount the other pivot point bracket to the rear-most slot in the formerly-used spring bracket.  I found the bolt was just a tiny bit too big to fit, so I drilled it out to size, then tightened it down.


Next you unclip the locks on each end of the gas strut, pop it on to each end then re-clip the locks.  You can see that the weight and stress bends the lower bracket slightly.  Once it got to the point below, it has stayed at that angle through 20 or so open/close cycles.


Pop the brackets and strut into the other side.


The struts are selected perfectly - they hold the hood up easily but when you lower the hood, it gently drops into place and you can snick the hood closed.