It was time to install the front targa gasket across the top of the windshield frame. The one that came with the car was in great shape, so I just cleaned it and slotted it into place. It went in nicely.
Below is the place where the rear trim bar mounts. I cleaned, pained and bolted the targa clamps back into their home.
I then went to install the rear targa trim bar. Alert readers will remember that I had covered it in new vinyl a long time back, as it had several unsightly cracks. I tried my best, but even the 1/8" of extra thickness prevented it from fitting into place. So I carefully peeled off my vinyl and scrubbed off the contact cement residue with mineral spirits.
So the plan became trying to repair the cracks as best as possible. I ended up filling the cracks with vinyl adhesive, waiting a couple of days, gently sanding, then applying more adhesive. In retrospect I should have used epoxy because the vinyl adhesive takes a long time to dry and shrinks up, necessitating multiple treatments.
This is the result, with a bit of scuffing of the original vinyl due to the sanding.
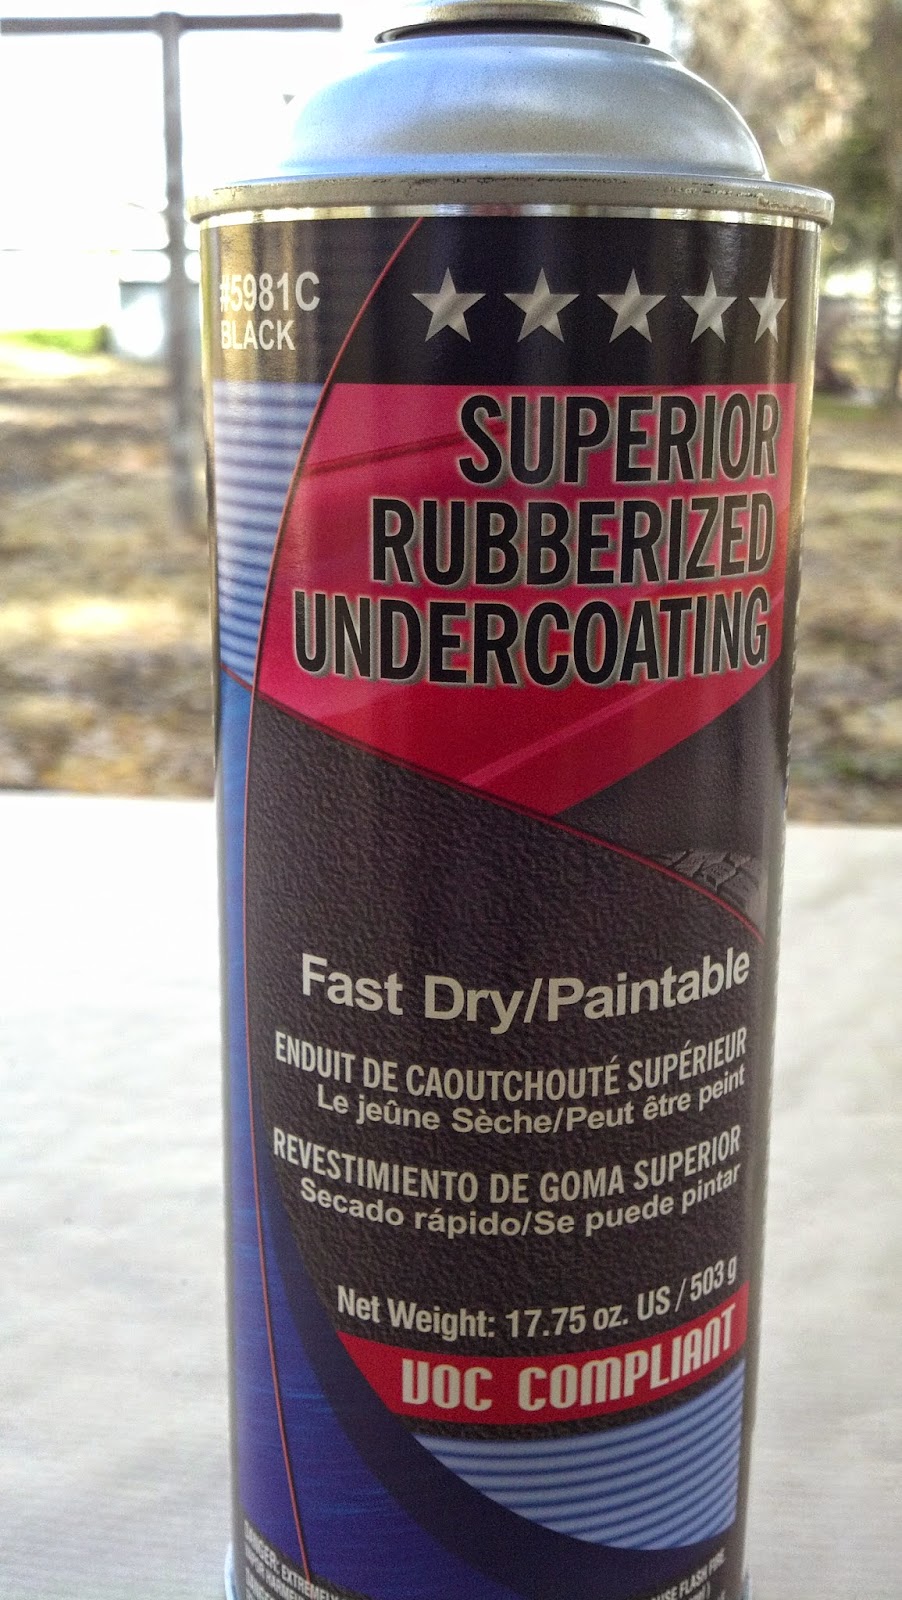
I wanted to get a consistent pebbly texture and after a lot of research, I ended up with this rubberized undercoating.
The trick to using this stuff is to spray in a very fast motion or it will get too thick and goopy. By fast I mean spraying across the whole trim in about 1/10th of a second. Apply multiple coats until you get the look you want. I hung the trim by a string from the bottom of my opened garage door so I had 360 degree access. Just beware that the overspray will get everywhere!
It's by no means perfect, but better than it started and with a nice texture.
Finally, I mounted the U-shaped rear seal into the targa top. It's not in the greatest shape, but I didn't feel like buying more replacement seals... There are two breaks in the rubber gasket, so I shaped and stuck strips of butyl into the holes. Someday I'll just get a completely new gasket as the fuzzy strip is disintegrating.


No comments:
Post a Comment