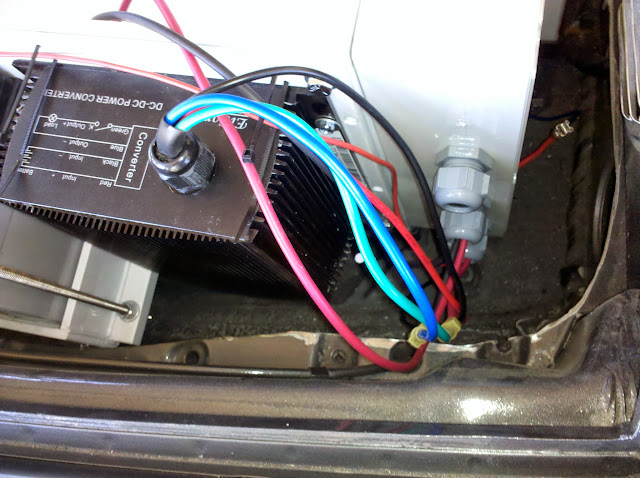
First, I was sold a different DC/DC converter than is documented in the directions. The documented one has mounting posts, allowing multiple wires to be landed on the two inputs and two outputs with small closed-end connectors. Mine came with a small wiring harness of 4 wires, which makes it tough to do a 3-way splice as needed in a couple of places. What I did was use the multiple tab feature of the fuse block and terminal block in the wiring box to make the necessary connections.
I completed wiring up the DC/DC converter on the bench. Now we're ready to get it into place.
I'm really good at following directions, but as you can see there isn't enough room to fit the box in at the front. Now this is the wiring box that I added and it's tighter than I want, so I can't blame them for this, but as we move around the front and put the auxiliary battery in place, the plastic of the main box is bent in significantly, and the 6V batteries would never fit.
Another problem I noticed was the path of the battery box exhaust tube to the vent. It looks OK from this angle, but the height difference is about 4". This is going to be tight.
I cut away some of the small tray that was shaped like the front of the spare tire to hold it in place, giving sufficient clearance around the wiring box.
I carefully measured the gap between the back of the box and the firewall and found I could go another 1.25" back, giving sufficient front clearance.
This is after drilling new holes, rustproofing with POR-15, bolting the rack back into place and test fitting the battery box. It's still tight, but everything fits.
I then completed roughing in the wiring from the harness into the wiring box. Once I wire up the charger's 120V AC, then I'll test everything, tidy up the wires and wrap with split loom.


No comments:
Post a Comment