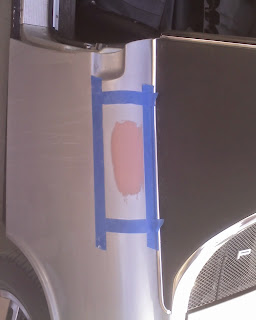
This weekend was spent grinding, sanding, filling, sanding and priming the paint chips and rust spots around the car. First up is the cowl area on the passenger side that I worked on last weekend. I dug out the rubber strip that was stuffed in the seam between the fender and the cowl. It was moderately rusty underneath so I sanded the crack and slathered in Rustoleum. I then sanded and primed the whole area to prevent new rust forming on the bare metal.


Remember I previously said there were no more Mystery Holes? Well I found the last two. They're located at the bottom of the front fender panels, directly below the rusty mess of the cowling. There's clearly a failure mode of water not draining properly in these areas. I could see filler and primer in both areas, with a bit of rust poking through. I dug out the filler and rust down to good metal, sanded, Rustoleum'd, then primed. With 5 areas needing metalwork, I've come to the conclusion that I'll let a professional shop restore good metal into those places. I don't want to do all of this work, then fill the gaps full of body filler, which is I think what happened previously and got us into the situation we are now. I'll let them work on welding new metal into place, then apply some super-rust preventive technology.
Here's the driver's side before and after:
and here's the passenger side:
I also did several surface rust spots and paint chips around the car, wrapping up what I can see of the bodywork. Here she is in all of her glory, covered with paint masking paper. I'll let the primer cure and spray with silver paint next weekend. This is not the final painting, just a temporary coat to get me through the rest of the restoration. In the course of getting to this point, I've removed a bunch of trim chrome and rubber. I'll get recommendations on restoration and painting shops, then talk to them about the project and what they need me to do to the car to optimize the process.


